
I’m here today, and we’re going to talk about chitting potatoes and something my old neighbor taught me a long time ago — and we’re going to plant in potato grow bags, so don’t go away.
I met a man who lived across the street, and he had lived there since 1961. He raised his two daughters there and grew the most amazing potatoes in containers in his front yard.
The reason for chitting a potato is to get an early harvest. You prepare the potatoes early, and for people in short-season climates, that’s really great.
There are all kinds of videos and information online about chitting potatoes, so you can check that out.
But what he told me is, first of all, you want to chit a potato, which means you cut it.
You want at least a one-inch square piece. It has to have at least one eye (sprout) coming out of it.
It’s better if it has two sprouts. And you cut it, and normally, you would let it sit — let’s say, in an egg carton tray — for a few days to seal the cut.
But if you want to speed things up, he suggested pressing it into cornstarch. So we’re going to do that. It’s really important — just like when pruning tomatoes — to use a clean knife or scissors, and here you also want to use a clean knife to cut your potatoes.
If you have a small potato, you can just use the whole potato. You could cut it, but you don’t have to.
So you select your potatoes carefully. This is called an “eye” — it’s where your plant will grow from. This one has only one large one. So you see, there’s a lot of variation.

Here you have a potato that has one, two, three good ones and a smaller one. So, if you really want to stretch and increase your yield, cut it so you have two eyes on one half and two eyes on the other.
Now, normally, this would take about two or three days to seal, and you want it to seal before planting. But if you don’t want to wait and you’re in a rush, you can seal it with cornstarch and it works perfectly — see, I love doing that.
Normally, you would place these in an egg carton like this, with the eyes facing up, and let them continue growing, or you could go ahead and plant them now.
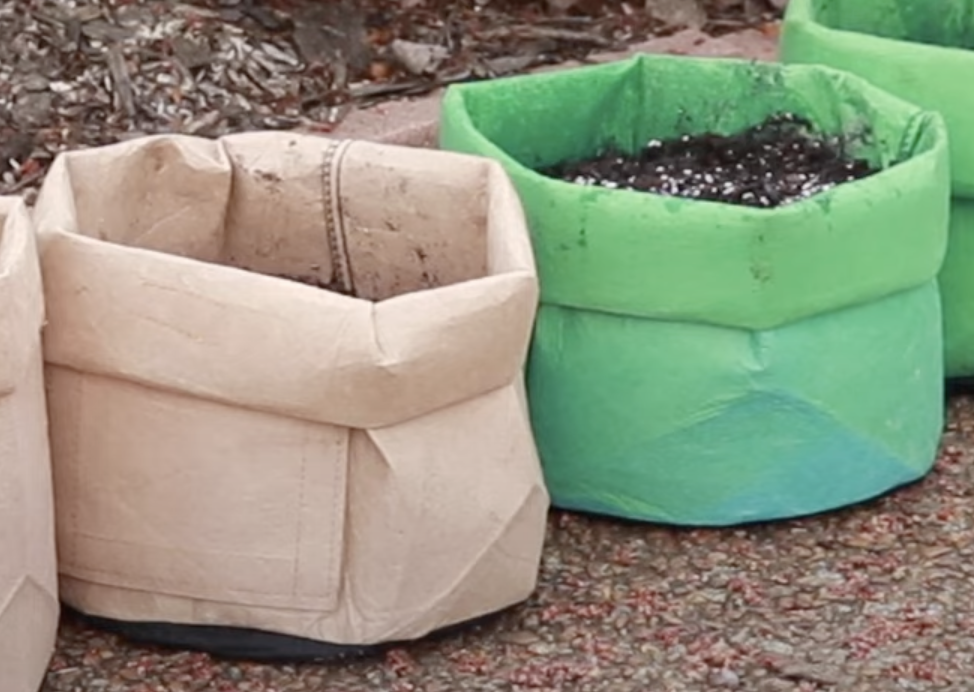
I’ve used fabric pots for years and have seen these potato grow bags, but I had never used them. They specifically have a little flap that, when you suspect your potatoes might be ready, or you want to harvest new potatoes, you can open the flap and see if there’s anything growing down there.
I can’t wait to try these out. There’s a great website called Gurney’s — if you don’t know it, they’ve been around since 1886, selling plants and providing information — and they have a great video on how to grow potatoes on their site.
And he had a 20-gallon fabric grow bag with six large potatoes inside. So I’m going to… you probably use about two large or three small potatoes in each of these 7-gallon bags.
I’m going to start with about six inches of soil, plant my potatoes with the eyes up — the sprouts up — and cover with about two inches of soil.
I’ll add a general-purpose fertilizer with a bit of extra potassium and top them off twice before they’re done growing.
As the green shoots come up, they need support, so you start low, and the green plants have support from the sides as they grow. Then you fill them up — kind of like hilling in the ground — and once they’re full and have flowered, you can harvest anytime after flowering.
Speaking of potassium, it’s not the same as wood ash, though it’s quite similar — but root vegetables need potassium, or potash.
So I encourage you to read up on that. Nitrogen produces leafy growth, but with potatoes — or carrots or beets — you want to encourage root development, and for that, you need potash.
You can definitely use wood ash in the garden — I have plenty — so I’ll be adding some of that to my Dr. Earth Tomato & Vegetable fertilizer.
Sometimes you only use part of a soil bag — I’m going to use all of these — but what you want to do is cut it almost all the way down, and when you’re done, just fold over the top and you’re good.
You don’t need to find some kind of garden tape or anything to secure it. When you open your soil bag, don’t rip it completely open.
I’m going to use this straight from the bag — looks like it’s almost enough to get started. What you want to do is fold it so you can see what you’re doing.
I like to make two clean folds when I start, because when the plants start coming up, you want them to get a little sunlight.
One thing to remember if you’ve never grown potatoes: don’t let them be exposed to sunlight, because if the tops turn green, they can be very toxic — and you don’t want to eat that.
I removed the bigger soil clumps, which is always a good idea with root veggies — especially carrots — to get rid of any lumps, because carrots will split if they hit a little rock.
Another great way to do that is with a screen — like a wire mesh screen. I brought mine from California, but it’s quarter-inch mesh and a little too fine for this job.
Now, Dr. Earth Tomato & Vegetable fertilizer is rated 4-6-3, which means 4% nitrogen, 6% available phosphate, and 3% soluble potassium.
I brought some potash from California, but I lost track of it. Potash is very water-soluble, and if it gets wet, it won’t work — it’s not effective. So it comes in foil packs to keep moisture out.
I’m going to add a little of the tomato & veg fertilizer and a bit of my wood ash.
I’ll mix that in, and if you’re using containers, it’s a great idea to have saucers under them if you’re placing them anywhere in or around your home.
Water can run off the sides when you water from the top and make a mess on your floor — and you don’t want that.
Okay, so I’m going to fill this grow bag. I think I’ll use three potatoes because I’m very late in the season. I’ll plant them about an inch deep and cover the stems.
Can you see this stem? This one has a double, but they’re together and kind of pointing downward — still, you need to place it like this and hope they turn around.
I’d consider this a small potato, so I’m using three. You can’t really see the other two, they’re kind of buried, but here are the two pieces, and we’re going to cover with two inches of soil.
It’s a good idea to do this before pouring straight from the bag, because sometimes there are lots of clumps — and this one is already sprouting because it’s been sitting for a while — and that’s it for now, except for watering.
So that’s the process, and now I’m going to repeat it five more times. It’s a great idea to do staggered planting, especially when using containers — it’s super easy to do.
Start one batch one week, wait a few weeks, start another, and I’ll end up with five of these bags just with the ‘All Blue’ purple potatoes. I have more 7-gallon grow bags, and in a few weeks, I’ll start planting the rest of my potatoes.
So let’s wrap this up. I only have five seed potatoes left. I think I used one extra in another bag, so I’ll take the two biggest ones and save them for my last bag, and I’ll plant the three smaller ones in this one and hope for the best.
There’s really nothing simpler than planting potatoes. Two quick tips for possibly better success:
- I start with filtered water, because tap or city water can kill beneficial bacteria and soil organisms.
- I also like to use MycoGrow, which is made by fungi.com. It’s a soluble mycorrhizae mix — a comprehensive blend of endo and ecto mycorrhizae, beneficial bacteria, and biological disease control agents.
There’s nothing better for me than that.
Thank you so much for reading this article — and especially for sharing it with your friends.
And if you’re a planting lover, go ahead and read more articles on this site!