
If there’s one thing that completely changed the way I grow plants, it was learning that soil is much more than just the “dirt” where we plant. In the beginning, I treated all soil the same.
I’d dig a hole, stick the plant in, water a little, and hope for the best. But things just didn’t grow. Some plants wilted after a few days, others seemed to start well but soon stopped developing.
That’s when I realized: if I wanted a productive garden, I needed to learn to read the soil.
Most of us get excited about the seeds we’re going to plant, the fertilizer, the type of pot we’ll use. But we forget the foundation. And when the foundation isn’t right, nothing else works.
That’s why today I want to share what I’ve learned from hands-on experience, and show you how to understand all types of soil in a practical, no-nonsense way that you can apply immediately in your own garden.
If you’ve ever tried to grow something and felt like things just weren’t working out, there’s a good chance the problem lies beneath your feet.
After reading this, I promise — you’ll be able to identify, improve, and make the most of any type of soil, whether you’re planting in your backyard, in pots, or even adapting some of these tips to a hydroponic setup.
Start by getting your hands dirty
Before analyzing anything or adding amendments, grab a handful of soil where you want to plant. Feel the texture, smell it, and try forming a little ball with it. This simple test already tells you a lot.
If it crumbles easily and feels gritty, you’re likely dealing with sandy soil. If it’s sticky, heavy, and forms a tight ball in your hand, it’s clay. If it stays together but still feels a bit loose, you might have loam — that dream mix we all want.
Over time, your touch will sharpen. Just by handling the soil, you’ll understand what type it is and what it needs to better support your plants.
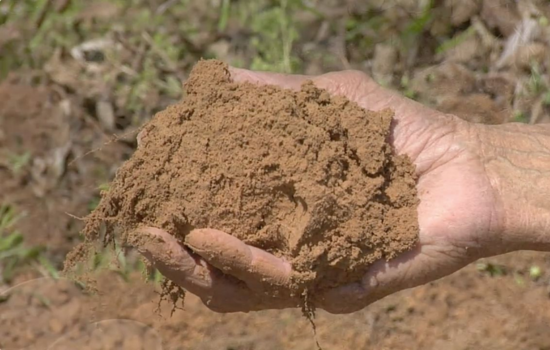
Sandy soil: light, fast-draining, and too quick to dry
Sandy soil is easy to spot. It’s light in color, coarse in texture, and doesn’t hold water for long. At first glance, it might seem ideal — after all, good drainage is important, right? Yes, but in this case, it drains too well. Water and nutrients pass through it quickly, leaving your plants thirsty and hungry.
I like sandy soil for tough herbs like rosemary, thyme, and lavender — they actually prefer soil that dries out between waterings. But if you’re trying to grow lettuce or tomatoes, you’ll need to improve it.
What works for me is adding lots of organic matter. Think compost, worm castings, and crushed dry leaves. I also always apply mulch — a layer of straw, rice husks, or finely shredded bark — to help keep the moisture in the soil longer. With these adjustments, sandy soil becomes much more versatile.
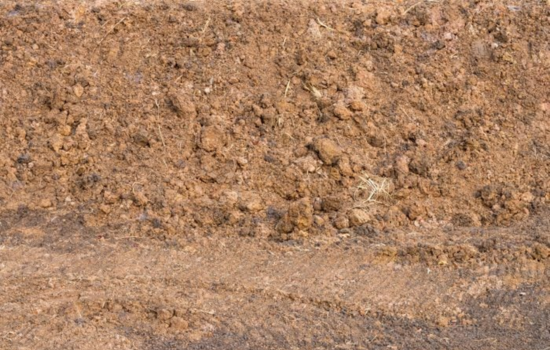
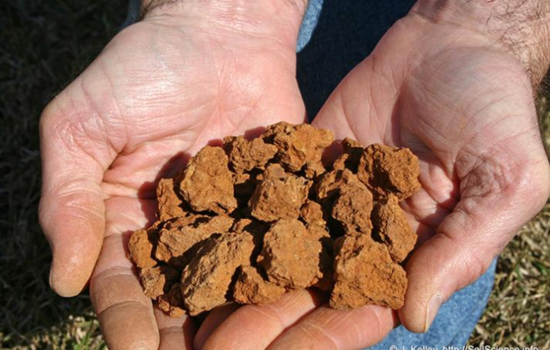
Clay soil: dense, sticky, and easily waterlogged
Clay soil was one of my biggest challenges. It looks rich because it’s dark and compact, but it holds too much water. That leads to root rot and suffocates your plants. You’ll know it’s clay when it sticks to your shovel, turns into mud when wet, and becomes rock-hard when dry.
This type of soil is made up of very fine particles that easily stick together. To improve it, I started mixing in coarse sand, organic compost, and — when needed — a bit of agricultural gypsum, which helps reduce compaction. One tip I love is adding carbonized rice husk, which makes the soil lighter and more breathable.
And again, mulch is your friend here too. It prevents the sun from baking the top layer into a crust, and it keeps the moisture more balanced.
Silty soil: the underrated middle ground
Silty soil doesn’t get talked about much, but it’s quite common — especially in urban gardens or low-lying areas. It has smaller particles than sand but larger than clay. The texture is smooth and it holds water well, but it can compact quickly if not managed properly.
It’s easy to work with and feels great in your hands, but without enough organic material, it becomes lifeless and hard as cement in dry weather. I treat it just like clay soil — lots of compost, a bit of sand, regular mulching — and the results are excellent. Once improved, silty soil is great for leafy greens, carrots, herbs, and even some fruiting plants.
With the right care, it becomes one of the most productive soils in the garden.
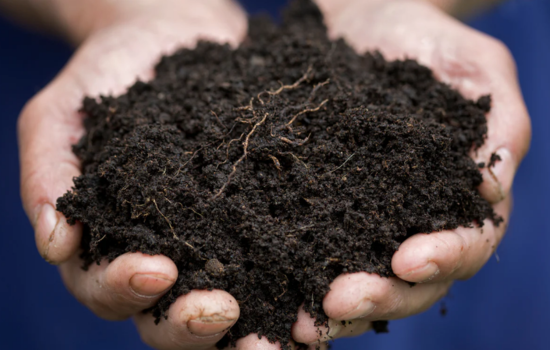
Humus-rich soil: the gardener’s dream
This is the kind of soil that makes your plants smile. It’s dark, fluffy, full of life, and smells earthy in the best way. It’s what you get when organic matter breaks down completely, forming humus.
You often find it naturally in forests, but the great news is: you can build this kind of soil in your own garden. I started with homemade compost — mixing kitchen scraps, dry leaves, and some aged manure — and layered it on my garden beds. Over time, worms came in, fungi did their work, and the soil transformed.
Now, plants that grow in those beds thrive. Roots spread easily, water stays available but doesn’t pool, and nutrients are released slowly. Humus-rich soil supports everything — from lettuce to strawberries, from arugula to beets. It takes time and effort to build, but it’s absolutely worth it.
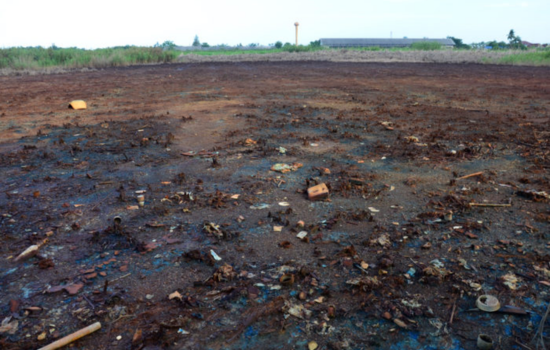
Poor or contaminated soil: sometimes starting over is best
Not all soil can be saved. I’ve seen ground so depleted, compacted, or contaminated that not even weeds wanted to grow there. If the soil is heavily salinized, full of construction debris, or exposed to chemicals, sometimes it’s better to start from scratch.
In these cases, I set up raised beds or large containers and bring in fresh, well-balanced substrate. This gives me full control and avoids the frustration of battling soil that works against you. And over time, even that dead space can be revived, with mulch, organic inputs, and a little patience.
So don’t be discouraged. Bad soil isn’t the end — it’s just a sign that it’s time to try something new.
And what about hydroponics? The “soil” is your substrat
Now, if you’re working with hydroponics, you might be thinking, “What does soil have to do with me?” And the answer is: a lot. In hydroponics, your growing medium — or substrate — takes over the role of soil. And just like with traditional soil, you need to understand how it behaves.
I use coconut fiber, perlite, expanded clay, and vermiculite — each one serves a purpose. Coconut fiber holds water well. Perlite improves aeration. Clay pebbles offer structural support. Knowing when to use each one and how to combine them is essential.
And yes, even in hydroponics, the medium needs maintenance. It should be washed, sterilized if reused, and monitored for salt buildup. Neglect this, and your plants will feel it — just like in bad soil.
So whether you’re growing in dirt or in a nutrient solution, the principle is the same: know your foundation and treat it right.
Understand All Types of Soil — and grow with purpose
Once you start to understand all types of soil, gardening becomes a whole different experience. You stop guessing and start making choices based on what the land is telling you. You notice patterns. You learn to adjust. You become more than a planter — you become a cultivator.
Soil stops being just “what’s there.” It becomes alive. Dynamic. A partner in your gardening journey. And the more attention you give it, the more it gives back — in stronger plants, better harvests, and a more resilient garden overall.
Whether you’re planting in sandy soil, fighting with clay, enriching loam, or building your own humus-rich beds, the key is this: the better you understand the soil, the better you grow. And that’s why I repeat — again and again — understand all types of soil if you really want to take your garden to the next level.